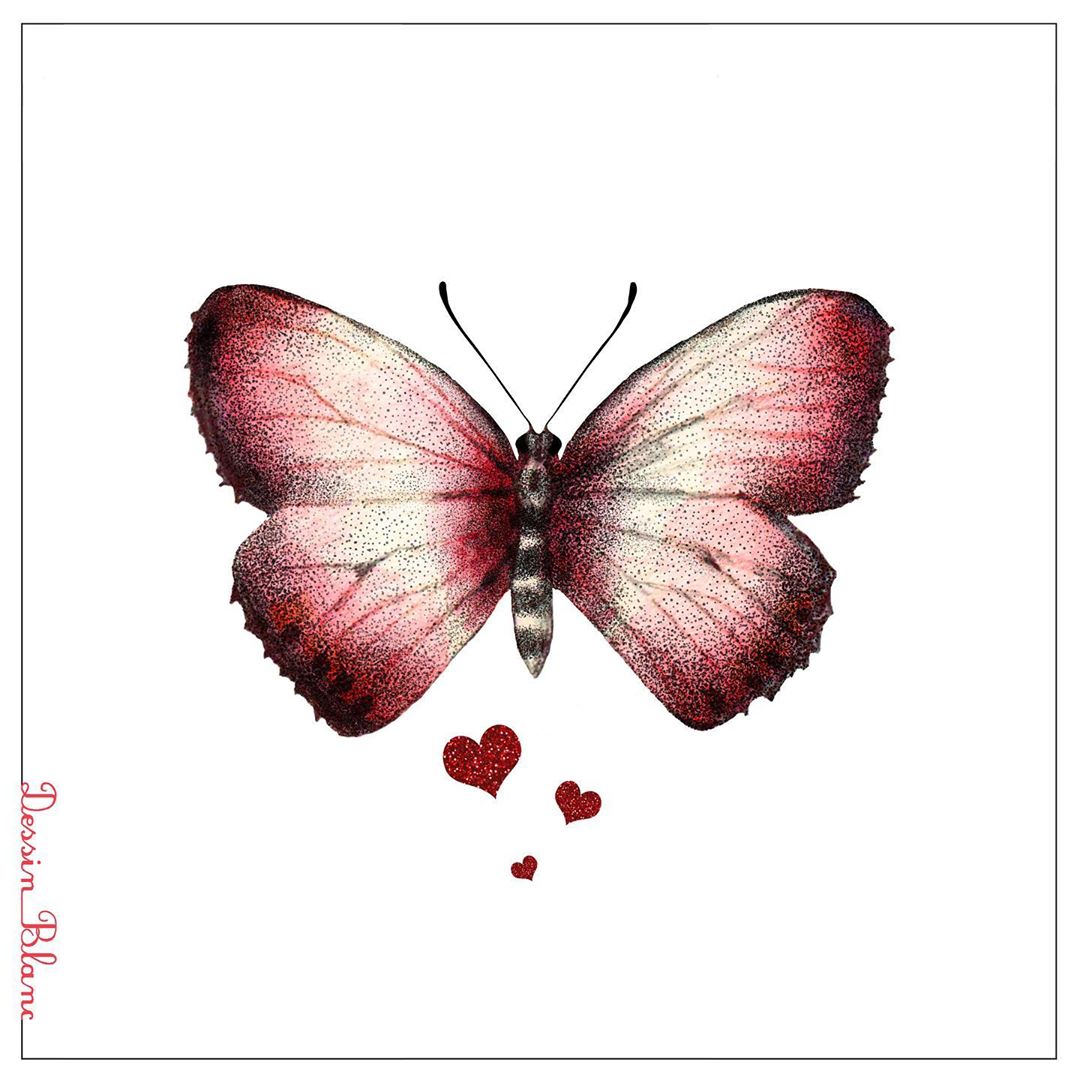
In this lesson we will show you how to draw a butterfly in 9 easy steps. This step-by-step lesson is based on each of the previous steps until you reach the final picture of the butterfly.
Some interesting facts that may interest you about the butterfly.
The butterfly has four phases in its life cycle: egg, larva, pupa and adult.
Butterflies have large, often colorful wings and eye-catching, fluttering flights.
Butterflies show polymorphism, imitation and aposematism.
Some butterflies migrate over long distances.
Butterflies mainly feed on flowers with nectar.
Step 1: Draw an oval to represent the beginning of the body part.
Step 2: draw the top wings.
Step 3: Draw the lower wings by following the red outlines.
Step 4: draw the details of the inner wing.
Step 5: add the details of the outer wing, draw some more details on the body and don’t forget to finish your head.
Step 6: draw in more detail on the lower wings.
Step 7: draw in more detail on the top wings.
Step 8: draw the last details on the head and add the antenna.
Step 9: Add the final details to the lower wings and the upper inner wing, and you’ve completed the butterfly drawing lesson.

admin
Recommended To You